We collect basic website visitor information on this website and store it in cookies. We also utilize Google Analytics to track page view information to assist us in improving our website.
Are your children, or grandchildren, already dreaming and talking about our upcoming summer weather when they can build campfires and make S’mores?
Open fire cooking is actually a delightful method of preparing meals, which gets you out of the kitchen and into the fresh air, enjoying the sights and smells of our wonderful outdoors in South Western Ontario. This method of cooking is also far more interactive and social, and produces tastes which your stove-top never could! So read on for best tips, the do’s and don’ts of cooking over an open fire, and a recipe or two.
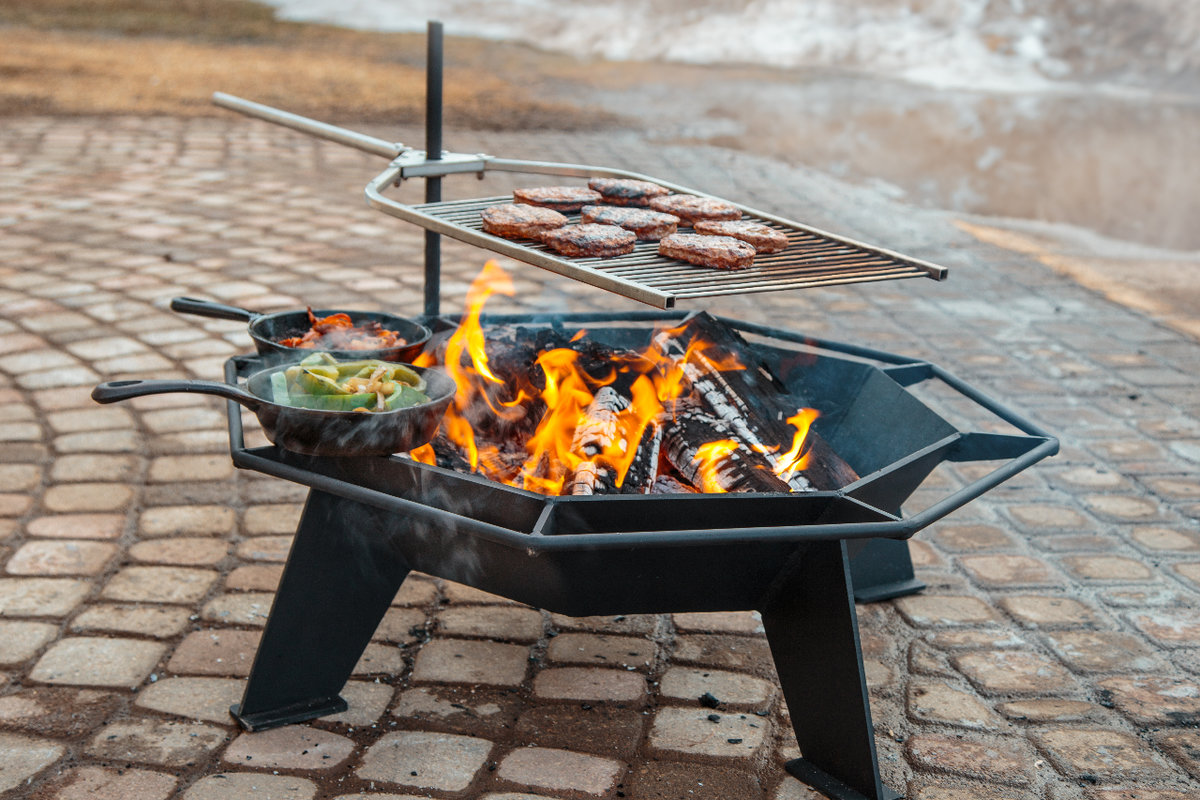
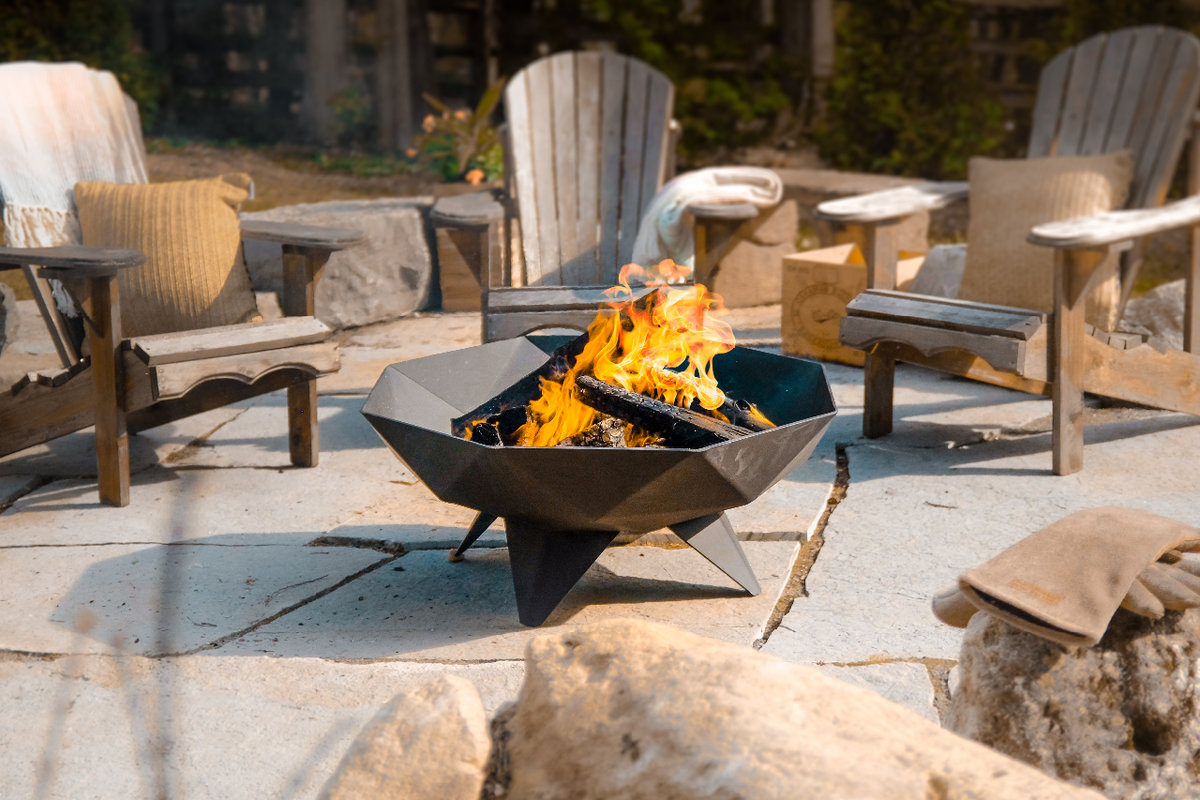
If you enjoy the outdoors and wish to pursue this new cooking opportunity, the first step is to invest in a suitable campfire grill for your campfire cooking. It’s an investment you won’t regret! Iron Embers, a local company from Guelph fabricates durable, heavy duty, ¼ inch thick steel firepits; each is welded solid and polished smooth by their team of expert fabricators. Because the firepit is so solid and durable, it can be used all year.
Then you can complete the firepit experience with a choice of Iron Embers functional accessories. A choice of two accessories will have you grilling your next meals in style – either the steel plate grill or the adjustable stainless grill.
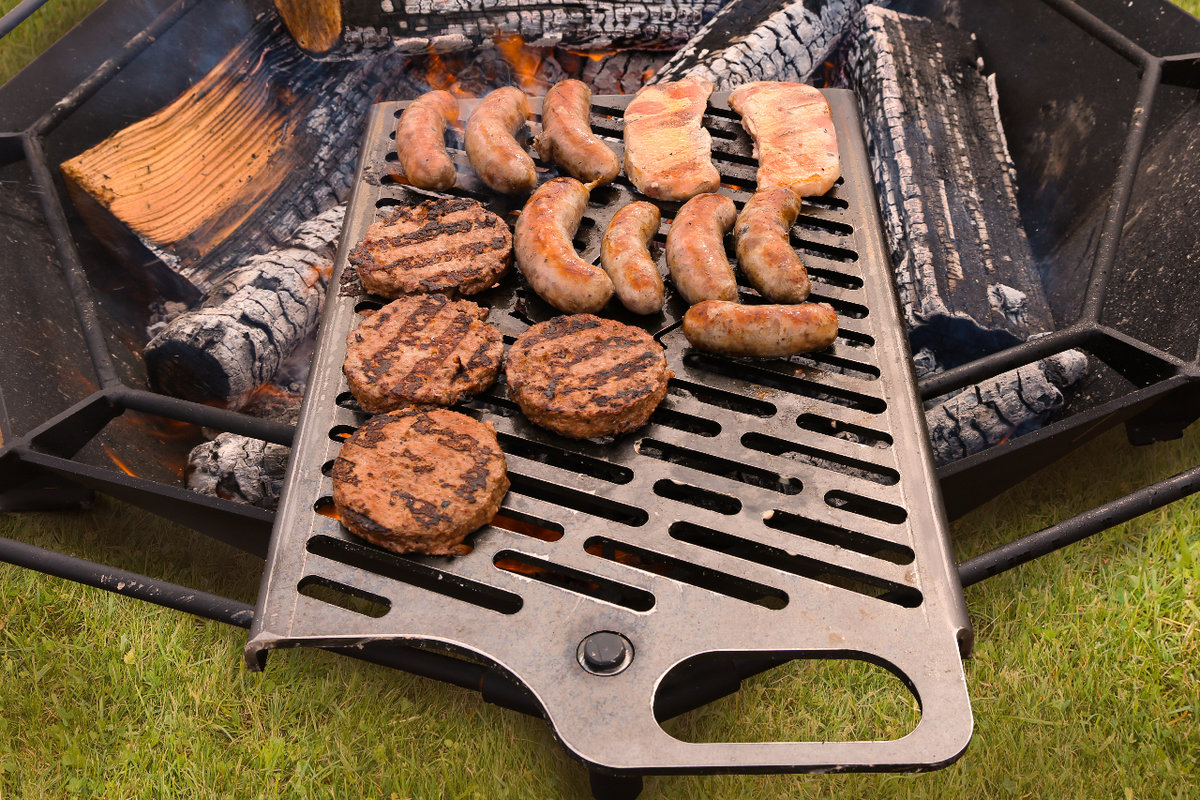
The steel plate grill, with its fixed height design, is sturdy enough to support large pots and pans over the fire, in addition to grilling.
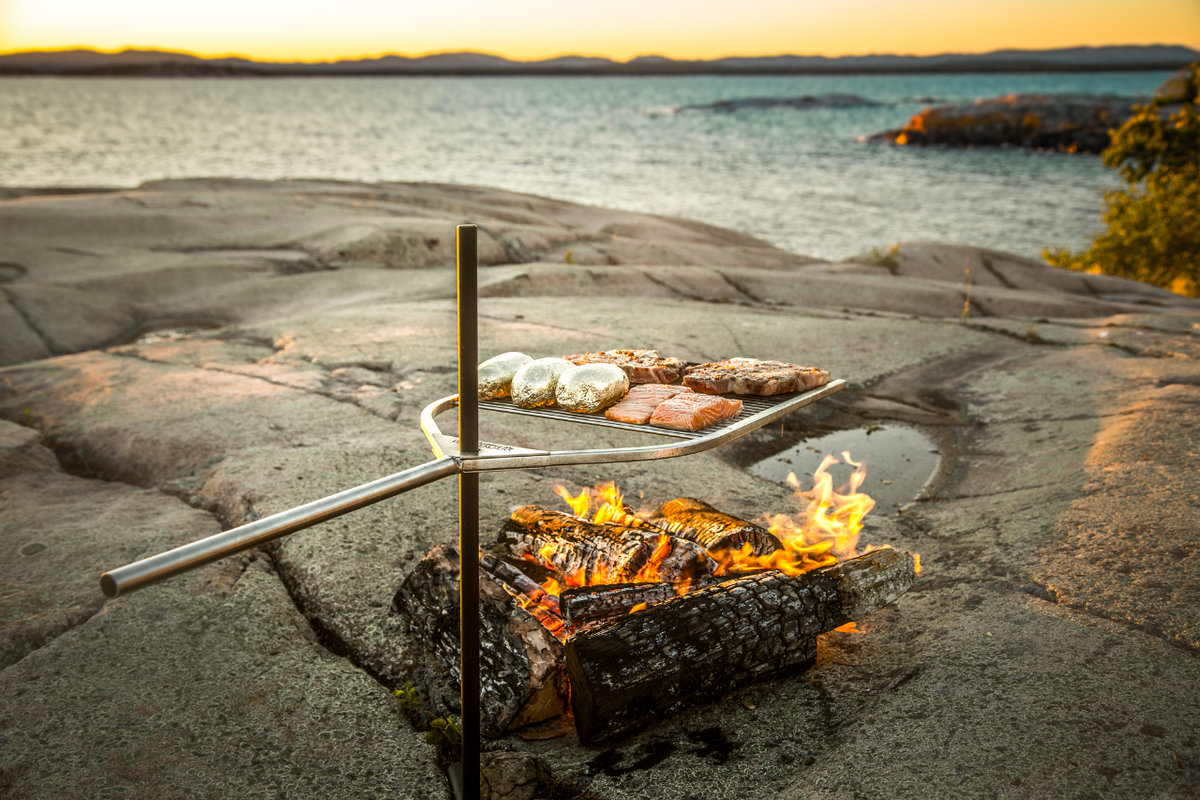
The stainless grill is the most popular grilling accessory with its adjustable height on the support rod, allowing easy control of the distance between your meal and the heat source. You may not be able to have total control over the heat of the fire, but with the adjustable grill you can find the sweet spot to cook your food to wood-fired perfection! Either way, the grill can swing out of the way of the heat to give you even more control of the cooking.
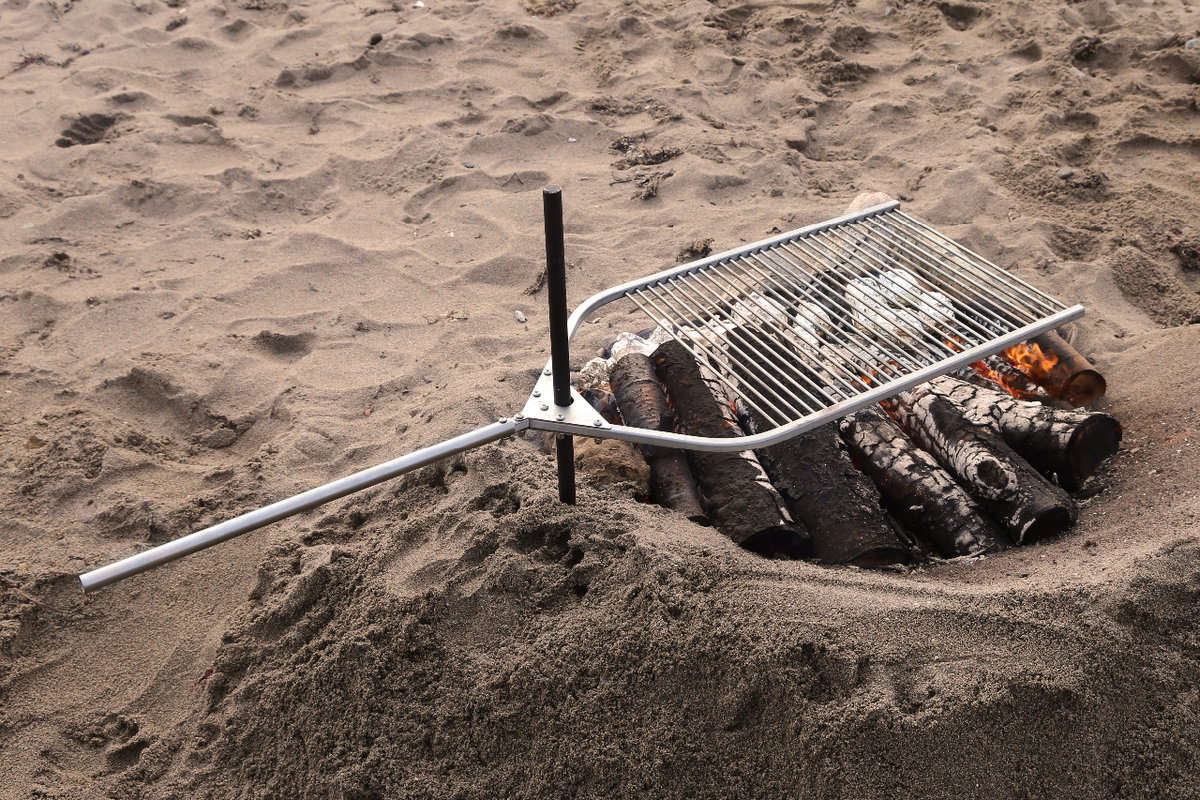
However, you don’t actually need to buy the firepit to get started – you can just purchase one of the grills with the special ground stake pole and insert it into the ground beside your campfire. Some grill masters set their grate between two and six inches above the coals, using the following tip for figuring out how high to place it: put your hand above the coals and see where it becomes uncomfortable to hold your hand for more than a second or two, and that’s where to set the grill.
Just know that the biggest difference between cooking over an open fire and cooking on a gas or charcoal grill is that an open fire is much more unpredictable! There is a lot more variation in hot and cold spots as the coals burn down, and it’s a lot harder to predict flare-ups. This means you need to pay more attention to the fire than you would to a grill.
So, what are the tricks to know as you plan your new grilling adventure? We’ve listed a few key points to help you get started.
Do find a suitable location
Try to ensure your fire is sheltered from the wind, as any medium to strong wind could potentially be hazardous, if sparks get away. Also, coals reduce more quickly which means a shortened cooking time.
Do use the right firewood
A rookie mistake is using green or freshly-chopped wood, and you will be a dead giveaway with the excessive smoke billowing from your fire. To create a classic fire in your firepit, use dry, seasoned wood, so be sure to have a handy stockpile.
When you’re going to be cooking over a fire, you want to use hardwood, such as oak, hickory or mesquite, and not a softwood like pine. Softwoods, especially pine, burn differently and can give off a lot of sticky resin that can add a tarry flavour to whatever you are cooking. One handy tip is to segregate your wood pile into cooking versus non-cooking wood.
Don’t be impatient
When you see flames, this is not an indication that your fire is ready for cooking. A good fire is constructed primarily of hot coals and just a few logs of burning wood. Depending on the fire itself and wind conditions, it can take 30 to 45 minutes to burn down to the right conditions. So, ensure you plan ahead and give your fire the time to burn down to the right conditions before you commence cooking, as a bed of glowing coals is the ideal fire for roasting.
Size matters!
This patience also extends to the size of your fire, as size matters when cooking! Bigger is not better when it comes to roasting conditions. Beginners make the mistake of trying to build a really big fire; the issue with this approach is that big fires take too long to die down before you can actually begin your grilling. Like-wise, you don’t want to build too small a fire and risk insufficient heat to cook the food in a reasonable amount of time.
Do set up a tool mise en place
Mise en place is a French culinary term which means “putting in place” or “gather” – in other words, setting up an organized work area with everything in its place. When you’re grilling, you should follow the same philosophy, especially with tools required for the grill. You’ll need a fork or spatula, and depending on what you’re making; tongs and a brush for sauces are also helpful. Set up your grill for success rather than running around trying to find utensils and letting the food overcook.
This concept should also be applied to prepping your meal prior to grilling. Check your recipes in advance and do any peeling, chopping or mixing prior, so that your focus can be on getting the right open fire conditions to create a spectacular meal.
The Tamarack log holder with steel table top option creates a convenient space to help keep you organized while you are cooking over the open flame as well as stores your firewood for easy access to fuel your fire.

Don’t cook directly over the flame
Just as your children or grandchildren roast marshmallows over an open flame, we may think that all meals are done in that way. However, placing all food directly over an open flame is a guaranteed way to get a burnt meal.
Some experts suggest that the trick is to build a fire on one side of your firepit or campfire and use the other side primarily to move hot coals; this approach allows the grill master to move coals in and out of the cooking area, depending on the heat required.
Advice from experts is to begin with a small starter fire with kindling and smaller logs, letting it burn for 30 minutes or so and only adding a few larger pieces of wood as required. This approach will ensure a substantial base of coals and sufficient direct heat for cooking. A bonus is that it also means you have enough wood to keep the fire burning all evening!
When you’re cooking over an open fire, you want to cook over the coals, ideally when they are white hot. Coals provide much more even heat than flames do, and they’re a lot less likely to turn your dinner into inedible crispy burnt nuggets.
Know the difference between direct and indirect heat
Knowing the difference between direct and indirect heat, and when to use each, or both, is the difference between a grill rookie and a grill master.
Direct and indirect heat are both terms that refer to open fire cooking, or grilling. Direct heat means to cook the food directly over the heat source, like the coals mentioned above, and is a high-heat method (and get you great grill marks!), while indirect cooking refers to cooking adjacent to the heat source.
According to some grilling experts, a combination of direct heat for searing followed by indirect heat for longer, slower cooking can be one of the most skillful ways to use the grill.
Direct heat is used to cook relatively small or thin pieces of food quickly. Typical foods that are direct grilled include steaks, chops, chicken breasts, fish fillets, seafood, vegetables, and bread. In the case of grilling, it’s cooking over the hot coals. Direct heat is responsible for beautiful grill marks, juicy burgers, and crispy grilled vegetables. It’s also great for quick-cooking foods like vegetables, hot dogs, and most seafood, especially shrimp. Direct heat is also great for searing meat to give it color and a crisp skin.
Indirect grilling is designed to cook larger or tougher foods that would burn if direct grilled. This is the method used to cook ribs, pork shoulders, briskets, whole chickens and turkeys, and other large pieces of food, that require long, slow cooking at a low or moderate temperature (275 to 350 degrees). As the name suggests, the food is placed next to, not directly over or in contact with the bed of coals. Traditional barbecue (slow-smoked meat) is produced via indirect heat as well.
A combination of direct and indirect heat is often called combo heat or combination cooking.
Combo cooking is most often seen with large pieces of meat, which are seared over direct heat and then slowly cooked over indirect heat. Grilled chicken is also frequently cooked with a combination - a quick grill over direct heat for grill marks and caramelization, then moved over to indirect heat and cooked over a more moderate temperature until the chicken comes to temperature. Combo heat cooking is also great for grilled fruit and denser vegetables like cabbage.

The only thing you need now is some recipe inspiration. Our grill master friends at Iron Embers have suggested the following links, to get you started:
There look to be some amazing recipes, including Creamy Campfire Clam Pasta with Tomatoes, Ginger Salmon with Green Beans, Foil-Packet Jambalaya, Cajun Boil on the Grill, Campfire Banana Boats, and Foil-Packet Spiced Nuts if you want a showstopper, in addition to the more anticipated grill recipes. Go ahead, give cooking over an open flame a try at your next outdoor gathering and remember practice makes perfect!
Visit Cottage Culture for all your Iron Embers and fireside needs. Our knowledgeable staff are available to answer your questions and help you choose the best firepit for your outdoor space. Ask about our free delivery and set up!
Looking for fireside inspiration? Follow us on Facebook, Instagram, and Pinterest.
